Aqua Computer |
|
|
It's time for my first attempt with water cooling. The computer consists og a Pentium 150MHz, 32MB memory and a 1.7GB hard drive. The graphics card is a Trident PCI with 1MB memory and the soundcard is a Soundblaster 16 ISA. Extension cables have been bought for VGA, SP/2 and sound. Not exactly cheep, but it is worth the fun. When I got the computer it ran Windows 95, but I installed Windows 98 SE. The computer are to be used as a gaming machine for older games such as:
|
|
Installing Software |
|
|
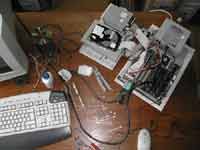
Installing software as the final computer dont have CD/DVD, floppy or LAN. |
Trimming the Sound Card |
|
|
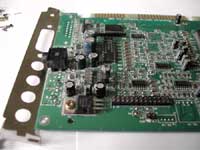
As Line-out are the only plug I need, the other plugs are removed. Jumper plugs and other unnecessary plugs are also removed. |
Trimming the Graphics Card |
|
|
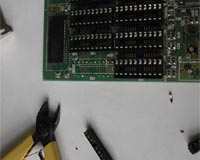
After the sound card it is time to trim the graphics card. It is filled with unused plugs. |
|
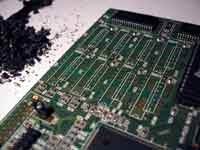
After trimming the graphics card, those plugs were unnecessary. I hope.... They are unnecessary, the computer has been tested and it still works |
Trimming the Motherboard |
|
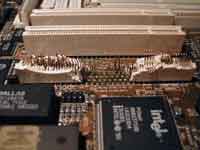
|
It is time to trim the motherboard. I dont need three PCI slots, at the motherboard is a mess with alle those unused slots. It is not pretty during work, but it is going to be great when the slots are removed. |
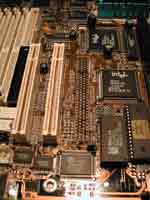
|
One PCI slot has been removed. I told you it would look great. I just had to test the computer after the first PCI slot has been removed, and it still works. Now it is time to remove the last PCI and ISA slots |
Still Workong on the Motherboard |
|
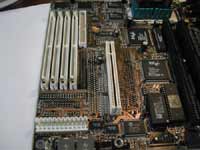
|
The last PCI slot and COM1, COM2, floppy and secondary ATA slot disappeared. |
ISA Slots |
|
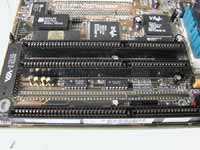
|
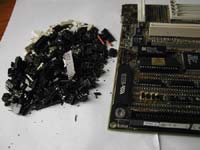
The worst work remains: three ISA slots must be removed. One down... two to go. |
|
One ISA and one PCI slot after tthey have been chopped up removed. |
Overview |
|
|
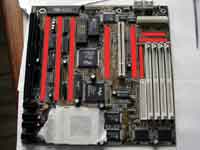
The works trimming the motherboard are almost over. Only a few jumpers, plugs for LEDs, loudspeaker, reset button etc. have not been removed yet. On the back of the motherboard a coupple of houndred leads stille needs to be trimmed. The red marking show which connectors and plugs have been removed. |
|
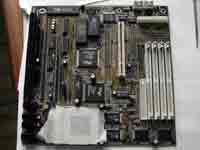
The same picture as above, without the read markings. It is time to test if the computer still works. |
|
It still works, but I have not removed the leads on the back of the motherboard. The leads must be removed before the motherboard are ready for lacquering. I was a little to optimistic. A ISA plug has 98 leads and a PCI plug has 120 leads. in addition there are leads form memory sockets, jumpers and other plugs. The estimated leads turned out to be a little over a thousand leds. But when they are removed, the lacquering will be much easier. |
|
|
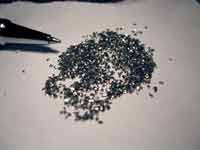
Done.... I hope that is the last time I have to do that. Not much to show as only app. 1000 ½mm leads were removed. |
Waterproofing the Hardware |
|
|
The next step is to ensure no short circuits occur. This is done by sealing the hardware with lacquer. The lacquer has a great effect on the hardware, it brings out the colors and give a nice shine. As a extra bonus, the hardware can now easily be cleaned for dust. |
|
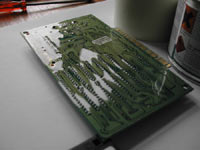
|
Graphics card after the first layer of lacquer om the back of the card. |
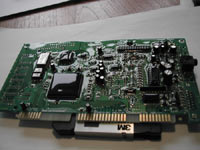
|
And the soundcard after a layer of lacquer on the front. after 8 hours the lacquer on the back of the graphics card is almost dry enough to be non-sticky, while the lacquer on the soundcard still is very wet as the lacquer thickness is larger than on the graphics card. |
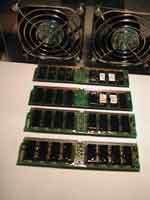
|
The 4 memory modules also got a layer of lacquer. When the hardware was dry, it was time to test the computer. The computer crached during boot, not exactly the best thing that could happen. But after booting in fail safe the computer worked fine, also when booting normally. To speed up the drying process a coupple of 80mm fans are added to increase the airflow over the hardware. The 4 memory modules drying. |
|
Hopfully this is the last layer of lacquer on the graphics card and soundcard. If I can feel that all the compunents are covered by lacquer the job is done. The momory modules needed a lot more work than expected. It is difficult to cover the memory chips with lacquer, as the lacquer tend to run over the connectors, so only thin layers can be applied. The motherboard have been covered with a couple of layers, but because the many components in the board it is going to take a lot of layers before I am sure the entire board is covered. It is time to decide what I am going to do with the power supply. There are a couple of solutions, but I have not decided what to do yet. I also need a container for the hard drive, but I think I have the materials to build it. |
|
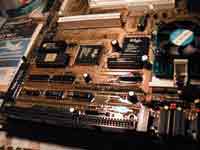
|
The front of the motherboard after a few layers of lacquer. I had to buy another can, as the one I had were begining to to get to thick. It can be used for the momory modules, but og the larger surfaces on the motherboard fresh lacquer gives the best result. |
Cable Extension on the Power Supply |
|
|
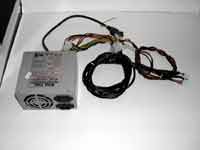
I chose the easy way out. By extending the cables the power supply I am avoiding 220V in the water. The cables have been extended with an aditional 1 meter of cable. The molex cables have been extended with an aditional 1.5meter of cable. Since it is a AT power supply there are only 12 wires connecting the power supply to the motherboard. Molex connectors have been added, this way the power supply can be removed form the motherboard, making it easier to move the computer. |
Assembeling |
|
|
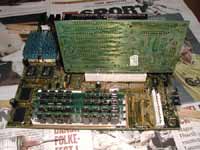
It is time to put all the pieces together. There are still quite a lot of worke to be don, but the hardware must be assembeled to prevent lacquer flow into the plugs and thereby destroying the project. |
Cables on the motherboard |
|
|
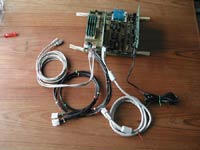
The cables on the motherboard are fixed to the motherboard using a two-componet epoxy resin. an aditional layer of lacquer are applied to ensure the joints are waterproof. |
Work in progress |
|
|
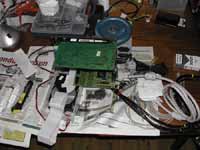
The memory sockets, PCI, ISA and ATA plugs have been sealed. The extension coords to PS/2, VGA and speakers are also beeing sealed. The back of the motherboard still needs a lot of work. |
Lacquering the Back og the Motherboard |
|
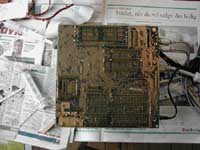
|
The back of the motherboard |
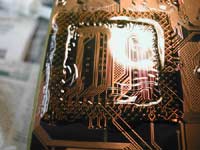
|
Close up of the back og the CPU socket. There are three aditional layers of Lacquer on the cut-off leads. |
Hard drive |
|
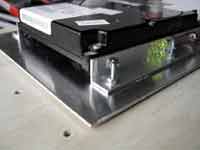
|
To prevent the hard drive from overheating, it is mounted in Alumunium profiles which are mounted on a aluminium plate. Thermal grease are used to optimize the thermal conductivity. A couple of LEDs were added just for fun. |
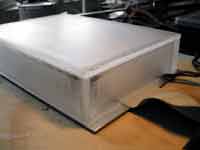
|
The harddrive are sealed i an acrylic case. The acrylic have been sanded to give a frosting effect. |
Time to Wash the Hardware |
|
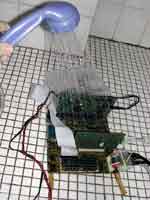
|
The computer are almost complete and it is time to wash it before it is placed in the aquarium. |
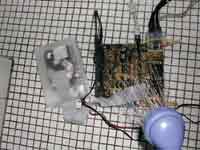
|
Still washing |
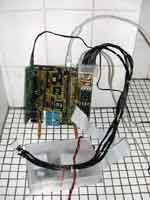
|
The computer is air drying after the shower |
The Setup |
|
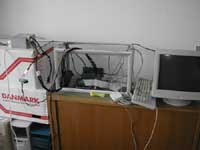
|
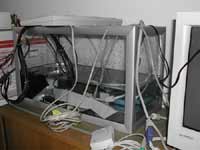
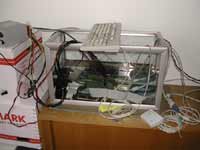
The hardware is placed in the aquarium. The power supply are placed to the left and mouse, keyboard and screen to the right. |
|
Water cooling needs water to be effective. |
|
A final pictere before I turn it on, ant hopefully have a water cooled computer. |
Does It Work? |
|
|
The computer does not work perfectly
Well, I will try to start the computer when it is dry, using normal air cooling. Water cooling has proven to be a relative complicated cooling method. I have another spare computer, just in case I decide to try again. A small video clip: |
|
9 Hours Later |
|
|
Well... It did not take long before I was planning another aqua computer. I have a Celeron 400MHz SEC mounted on a Asus P2B with 128MB PC133 memory. The graphics card is either a Diamond Viper V550 Riva TNT 16MB ram or some crappy spare PCI card. I expect to use a 2GB hard drive and a Creative CT4810 sound card. After trimming the motherboard I tested the hardware, but the screen recived no signal and the motherboard became trash. It turned out that the screen might be the problem. But I have a Duron 700MHz which will be used instead. The work on Version 2 has started. |
|


