CD Suite Case |
|
|
While I was working on my PC Suite Case, I realizied that the suit case were perfect for storing CD's. There are enough space to have three rows and the height is a perfect match. There are room for 3 rows, and the height is also suitable, so the don’t get mixed during transport. |
|
Materials |
|
|
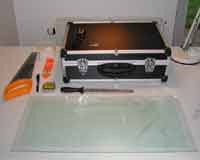
Only a few things are needed to make the CD suitcase. A suitcase some acrylic and some glue is all that is needed. I use a two compound epoxy and some cotton buds as brushes. If the acrylic were not cut to fit the suitcase when you bought it, you also need a saw preferable with small teeth. |
Placing the CD's |
|
|
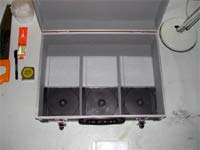
The optimal design is three short rows, but if you prefer you can make two long rows. Bu the rows get a little to wide in my opinion if there are only two. Besides it seems most logical with three rows, so you don’t have to rotate the suitcase before you can look through your collection. I chose 3 short rows. |
How many? |
|
|
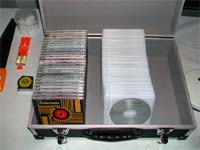
It is always nice to know how many a suitcase can hold, so I did a test with both hard cases and thin plastic covers. One row holds 25 hard covers or 120 thin plastic covers with app. 180 CD’s. So in total the suitcase can hold 75 regular hard covers or 360 thin covers with 540 CD’s. |
Marking up the acrylic |
|
|
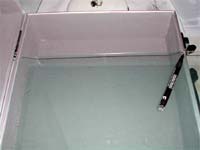
The acrylic had to be cut. In my case the base of the suitcase were slightly curved, so I had to make them a little too high. The base will be levelled when the partition walls are glued to the base and walls. If you end up with to high partition wall, the acrylic are easily grinded to the required height. |
Dividing wall's |
|
|
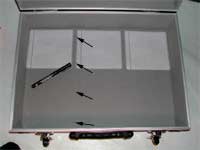
Now it is time to mar the position of the partition walls. In my case there is 12mm air between the thin plastic covers. The centrelines are marked. I also check if the acrylic fits. |
Curvature at the bottom |
|
|
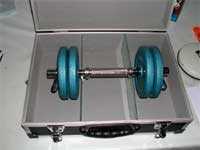
Before the glue is mixed the protective cover are removed from the acrylic. Now we are ready to mix the epoxy. The epoxy is fully hardened after 10 minutes but you only have app. 5 minutes before the epoxy are to stiff to be moulded. I start by applying epoxy to the base, and then the acrylic is forced down, to level the curved base. When the glue is hardened glue are applied to the sides to give more stability to the partition walls. |
PC Suite Case |
|
|
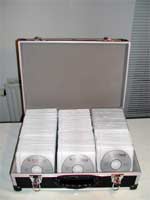
When the epoxy has hardened the suitcase is finished and any excuses for having CD’s laying all over the place are gone. |


